


-
By Pieter
-
October 4, 2026
- 0 Comment
Temperature Sensor Accuracy: Drift, Calibration and Knowing When to Replace
The short answer: Thermocouples drift with age, thermal cycling and contamination, and the dangerous part is that a drifted sensor keeps producing a smooth, believable reading that happens to be wrong. Pt100 RTDs are far more stable. Accuracy can be improved at the point of order by specifying special limits of error, which roughly halve the permissible error. Any sensor can be checked against an ice bath at 0°C without sending it anywhere.
Thermocouple Products has manufactured temperature sensors in Edenvale, Gauteng since 1992. This guide sets out what accuracy specifications actually mean in practice, and how to tell whether your sensors are still telling the truth.
The failure mode nobody plans for
When a sensor fails outright, it announces itself. The reading goes to zero or full scale, an alarm trips, and somebody attends to it within the hour.
The expensive failure is the quiet one.
A drifting sensor does not break. It continues to deliver a stable, plausible number — just not the correct one. Six degrees out, then nine, then fourteen. Nobody challenges it, because it behaves exactly like a working sensor.
Depending on the process, that means out-of-specification product, wasted energy, shortened equipment life, or a batch that never received the thermal treatment its paperwork says it did.
What accuracy specifications actually mean
Thermocouple tolerances are expressed in two ways, and the switch between them catches people out.
At lower temperatures: a fixed value in degrees.
A type K to standard limits of error is ±2°C from 0°C to 280°C.
At higher temperatures: a percentage of reading.
Above 280°C, the same type K is ±3/4% of reading.
The percentage trap
A percentage tolerance means the error grows with temperature:
Reading ±3/4% equals | |
400°C | ±3,0°C |
600°C | ±4,5°C |
900°C | ±6,75°C |
1 200°C | ±9,0°C |
At 1 200°C your “accurate” thermocouple is permitted to be nine degrees out — and still be entirely within specification.
This is not a defect. It is how thermocouples work, and it is published. But
it surprises people who assumed a tolerance quoted at low temperature applied across the range.
Standard vs special limits of error
This is the part most buyers have never been told: accuracy is something you can specify when ordering.
Thermocouples are supplied to standard limits of error by default. Special limits of error are available, and roughly halve the permissible error.
Type K
Range | Standard | Special |
0°C to 280°C | ±2°C | ±1°C |
280°C to 1 260°C | ±3/4% | ±3/8% |
Type J
Range | Standard | Special |
0°C to 280°C | ±2°C | ±1°C |
280°C to 760°C | ±3/4% | ±3/8% |
Type T
Range | Standard | Special |
−60°C to 95°C | ±3/4°C | ±3/8°C |
95°C to 370°C | ±3/4% | ±3/8% |
At 600°C, that is the difference between ±4,5°C and ±2,25°C.
If two degrees change your outcome, specify special limits when you order. It is a line on the order, not a special project. Thermocouple Products supplies
special limits of error on request.
Why thermocouples drift
Prolonged high temperature. The conductor alloys gradually change composition in service. The hotter and longer, the faster.
Thermal cycling. Repeated expansion and contraction mechanically stresses the measuring junction and the conductors.
Oxidation and contamination. Oxygen, sulphur and other process constituents reach the conductors through a damaged sheath or a porous seal.
Green rot. Specific to type K in low-oxygen atmospheres. Chromium is preferentially oxidised out of the chromel leg, shifting the calibration significantly. It is called green rot because of the discolouration it leaves. If
you run type K in a partially reducing atmosphere and see unexplained drift, this is a likely cause — a heavier sheath or a different calibration type is the remedy.
Moisture ingress. Magnesium oxide insulation is hygroscopic. A breached sheath or poor termination lets moisture in, lowering insulation resistance and shifting
the reading. It will not recover on its own.
Cold work and vibration. Bending and sustained vibration alter the conductor properties near the affected section.
Why Pt100 RTDs drift much less
A Pt100 measures the resistance of platinum, which has an exceptionally stable and reproducible resistance-to-temperature relationship. There is no junction to contaminate and no dissimilar-metal interface to change composition.
A Pt100 in normal service will typically hold its accuracy for years, where a thermocouple in the same position may noticeably shift within one.
The practical conclusion: if your process is below roughly 600°C and the measurement genuinely matters, a Pt100 is usually worth the additional cost — not for its initial accuracy, but because it will still be accurate in three years.
How to verify a sensor without a laboratory
Four checks, all possible with what is already on site.
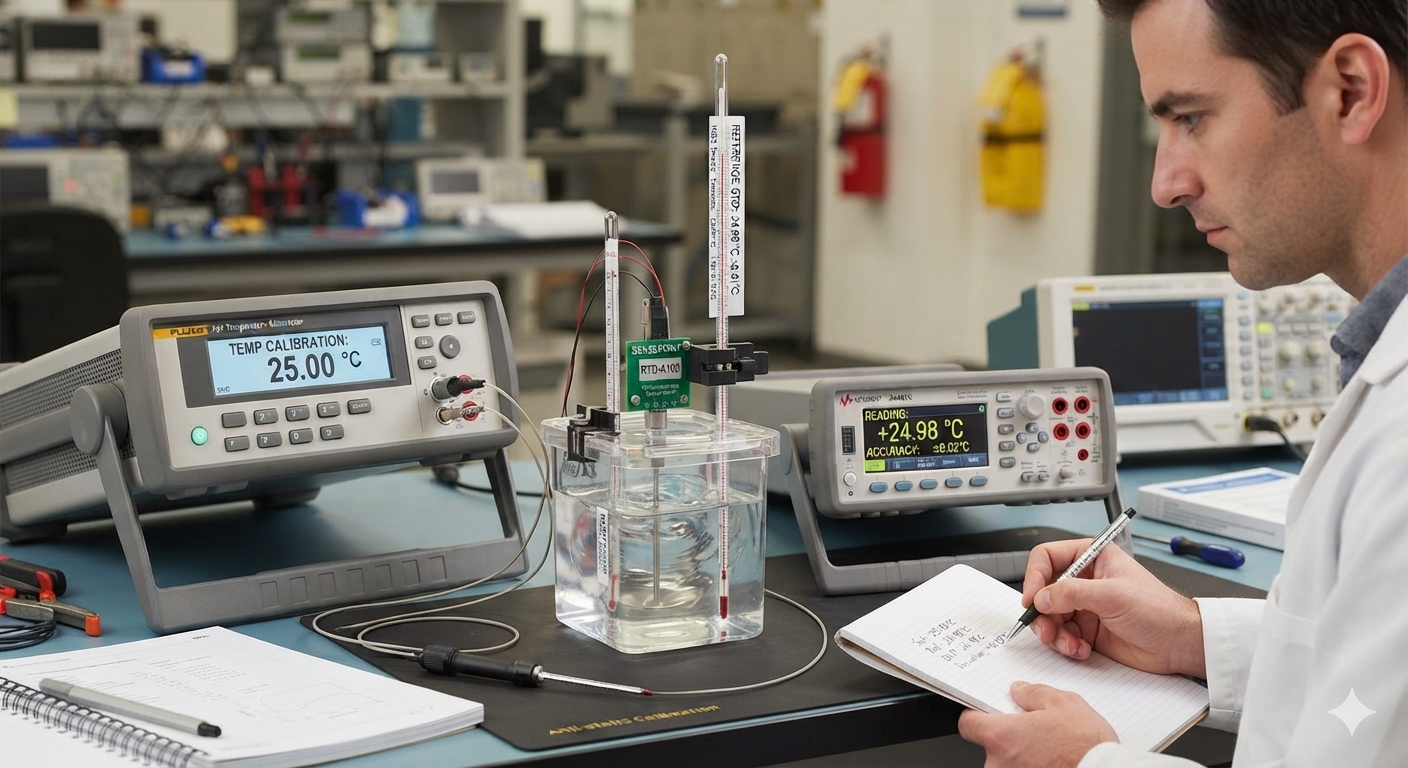
1. The ice point check
A correctly prepared ice bath sits at 0°C, reliably, anywhere in the world. It is the most useful and most underused test available.
How to do it properly:
- Fill an insulated flask or vacuum flask with crushed ice — not cubes
- Add only enough clean water to fill the air gaps between the ice
- The result must be a slush, not ice floating in water
- Insert the sensor at least 100 mm deep, not touching the sides or bottom
- Stir gently and allow two to three minutes to settle
- Read it
It should read 0°C. More than a degree or two out and you have learned something important for the price of a bag of ice.
Why it works: an ice-water mixture at equilibrium is pinned at 0°C by physics. It does not need a certificate and it does not expire.
Where people go wrong: using cubes instead of crushed ice, too much water, or not inserting deep enough. All three produce a reading above zero and a false diagnosis.
2. Comparison against a reference probe
Place a known-good calibrated probe alongside the installed sensor — same depth, same medium — and let both settle. Simple, and it catches most problems.
3. Cross-check a duplex sensor
A duplex sensor contains two independent elements at the same point. They should agree. Divergence means one has drifted — detected without removing anything from the process.
This is a strong argument for specifying duplex sensors on critical points. The cost difference is modest and it makes ongoing verification almost free.
4. Trend review
Compare a sensor’s history against neighbouring sensors. Points that have always tracked together should continue to. One slowly departing from the established pattern is drifting.
This costs nothing the data is already on your system.
And before blaming the sensor
Short the instrument input terminals. The instrument should read close to the terminal block temperature. If it does not, cold junction compensation is at fault, not the sensor — and every loop in that panel is affected.
Setting sensible calibration intervals
There is no universal answer. Reasonable starting points:
Application | Suggested interval |
Critical, regulated or safety-related | 6–12 months |
General process control | Annually |
Non-critical indication | 2 years, or on suspicion |
Reference and laboratory sensors | Per quality system |
Shorten the interval where:
- The sensor operates near its upper temperature limit
- There is frequent thermal cycling
- The atmosphere is reducing, sulphurous or contaminated
- The sensor has been physically disturbed, bent or impacted
- History shows previous drift at that point
Lengthen it where a sensor has demonstrated stability over several cycles and the consequence of error is low.
The most valuable thing you can do is keep a record. A sensor with three years of checks showing no movement is a very different proposition from one nobody has ever looked at — and the record itself tells you when the interval can safely be extended.
Recalibrate or replace?
Worth recalibrating
- Noble metal thermocouples (types R, S, B) — these contain platinum and rhodium and are genuinely expensive. Recalibration is clearly worthwhile.
- Reference and laboratory sensors — bought for accuracy, worth maintaining
- Sensors in regulated processes where documented history has value
- Physically sound sensors that have drifted only slightly
Replace instead
- Base metal thermocouples that have had a hard A type J or K that has spent years at temperature will drift again shortly after recalibration.
You are buying months, not years.
- Low insulation resistance — moisture has entered and will not leave
- Visible damage — bent, corroded, pitted or heavily scaled sheath
- Repeat offenders — already recalibrated once and drifted again
- Where labour exceeds the part cost — on an inexpensive sensor, the removal, transport, turnaround and refitting usually cost more than a new unit
The honest arithmetic
For a standard base metal thermocouple, replacement is frequently cheaper and more reliable than recalibration once downtime is included. For a noble metal sensor, the opposite is true by a wide margin.
The better question. Why did it drift?
A sensor failing faster than it should indicates a specification problem, not simply a worn part:
- Wrong sheath material for the atmosphere
- Calibration type unsuited to the environment — type K in low oxygen, type J in moist conditions
- Operating too close to the upper temperature limit
- Installation subjecting it to vibration or mechanical stress
Fixing the cause is worth more than either recalibrating or replacing. Send us the old sensor and we will tell you what the failure suggests.
Designing so verification is practical
The best time to make a sensor easy to check is before it is installed.
- Use thermowells on critical points, so sensors can be removed without draining or shutting down
- Specify duplex where the measurement matters — built-in cross-checking
- Leave access — a sensor behind permanent lagging will not get checked
- Label everything — type, installation date, last verification
- Keep a spare of each critical sensor on the shelf, so a failed check does not become a production decision
A sensor that is difficult to verify will not be verified. That is not a process failure; it is human nature, and it should be designed around.
Talk to us!
Thermocouple Products manufactures thermocouples and Pt100 RTDs to order in Edenvale, Gauteng — including special limits of error, duplex and triplex configurations, and thermowells that make verification practical.
If you have a sensor that has drifted, send it to us. We will look at how it
failed and tell you whether the specification should change — which is usually more useful than simply supplying the same thing again.
CTA: Request a Quote →
Email tcprod@mweb.co.za
Call (011) 452-6617 ·
Related reading:
- Why Is My Thermocouple Reading Wrong? 8 Common Causes
- Thermocouple vs Pt100 RTD: Which Temperature Sensor Should You Use?
- Thermocouple Types Explained: J, K, T, E, R, S and B
FAQ schema for this page
What is the difference between standard and special limits of error?
Standard limits of error are the default tolerance a thermocouple is supplied to. Special limits of error roughly halve the permissible error and are available on request. For a type K thermocouple, standard limits are ±2°C from 0°C to 280°C and
±3/4% above that, while special limits are ±1°C and ±3/8% respectively. At 600°C this is the difference between ±4,5°C and ±2,25°C.
Why do thermocouples drift over time?
Thermocouples drift because prolonged high temperature gradually changes the composition of the conductor alloys, thermal cycling stresses the measuring junction, and oxidation or contamination alters the conductors. Type K in
low-oxygen atmospheres is subject to green rot, where chromium is preferentially oxidised from the chromel leg. Moisture entering the magnesium oxide insulation also shifts the reading.
How can I check a thermocouple without a calibration laboratory?
Use an ice point check. Fill an insulated flask with crushed ice, add just enough water to fill the gaps so the mixture is a slush rather than floating ice, insert
the sensor at least 100 mm deep without touching the sides, stir and allow two to three minutes to settle. A correctly prepared ice bath sits at 0°C, so the sensor should read zero. You can also compare against a known-good reference probe, cross-check the two elements of a duplex sensor, or review trends against neighbouring sensors.
How often should a thermocouple be calibrated?
Critical, regulated or safety-related measurements are commonly checked every 6 to 12 months, general process control annually, and non-critical indication every two years. Intervals should be shortened where the sensor runs near its temperature limit, cycles frequently, operates in a contaminated atmosphere, or has previously drifted.
Should I recalibrate or replace a drifted thermocouple?
Recalibrate noble metal thermocouples (types R, S and B), reference sensors, and physically sound sensors that have drifted only slightly. Replace base metal thermocouples that have seen long service, any sensor with low insulation resistance or visible damage, and any sensor where the labour and downtime to remove and refit exceed the cost of a new unit. If a sensor drifted faster than expected, the specification should also be reviewed.